Tuesday, November 12, 2019


Thursday, October 31, 2019
Saturday, April 20, 2019
Saturday, December 22, 2018
10 Mind-Blowing Photography Tips for Beginners
If you want to take better photos but aren’t sure where to start, this list of 10 beginner tips is for you.
1. PICK A SUBJECT THAT SPEAKS TO YOU.
Pay attention to the reccurring themes in your work. Think of what draws you to these things so you can find new ways to capture and express what you like!
2. PRACTICE!
Don’t be afraid to make mistakes! Sometimes those mistakes turn out to be something unique and innovative that you can build on.
3. WORK THE SUBJECT.
Try shooting the same thing in as many ways you can that capture different aspects about it.
shoot the same subject in many different ways
photo by Yu Morita
After your shoot, look through your shots and critique your work. Be mindful of what worked and what didn’t and why. Editing your shoot is an important part of the learning process.
4. STUDY THE WORK OF OTHER PHOTOGRAPHERS.
Find something that inspires you and pay attention to what you like and try to mimic it. Then try to make it your own by bringing in something new and different.
study the work of other photographers
photo by Street Photography Addict
5. COMPOSITION.
If you pay attention, you’ll see that most great photographs contain at least one of these guidelines:
Rule of Thirds. Imagine the image is divided into thirds both horizontally and vertically. The interesting aspects of the image are placed on those lines. This rule is often used in landscapes, with the horizon being placed in the top, or bottom third of the composition. Some cameras even have a grid option that will display through your viewfinder, to help you make your composition precise.
Balancing Elements. If you’re framing your main subject off center, try having a less important object in the background of the image to balance the weight of the dominant object. The secondary object will add depth to the subject and make it more interesting by filling the void of space in the image.
Leading Lines Use the subject’s lines or contours to your advantage. These lines lead the viewer’s eyes across the image, so become aware of them and how to use them to your advantage. The more they lead the eye around, the longer the viewer looks at your image. Examples of leading lines could be a winding road on a hilly landscape or the contours of your model’s body. Notice how models pose in ways that create leading lines by using their limbs in interesting ways.
leading lines
photo by Nicolas Raymond
Symmetry and Patterns. These are often used in architecture and nature, even in artistic portraits. The subject is center balanced, unlike in the rule of thirds.
Viewpoint. The angle from which the photographer shoots in relation to the subject. Showing us a subject from an angle that we don’t usually see it is a great way to make it more interesting. In working the subject, pay attention to the message the shot conveys. Try eye-level, from above, below, side, behind, from a distance, in close, etc.
Background. Pay attention to your background! If your background doesn’t add to the subject, use a plain backdrop or use a shallow depth of field to blur the background out. Think about how it affects the tone of the subject.
Depth. Mostly in landscapes, depth helps convey a three-dimensional subject in a photograph, which is two-dimensional.
Framing. Objects in your environment can be used to add to your shot! Some useful examples are archways from a building, branches from a tree, or holes in cliffs. These frames can help show off the setting.
framing composition
photo by Arches National Park
Cropping. Cropping in tight on a subject is a great way to remove distracting elements around it. Everything in the photograph should hold value to your image. If it doesn’t, try cropping it out.
The more you practice these composition guides, the more they will become instinctual. Even in your editing & selection process, pay attention to which images pop out at you, and see if they hold one of these elements.
6. FAMILIARIZE YOURSELF WITH YOUR TOOLS.
Photography is so versatile! You can even take amazing photos with a coffee can, but you must understand the limitations of your gear.
7. LEARN TO USE PHOTOGRAPHY SOFTWARE.
Digital software is today’s darkroom, and developing an image is just as important as how you shoot it. My favorite way to digitally polish my images is through Lightroom. It’s amazing what it allows you to do to an image without exposing yourself to chemicals or wasting photo paper and developer. The preset filters are a great way to intensify the tone of the image, but you must know how to fine-tune them to make the image just so. Photoshop is also an important tool.
8. LEARN LIGHTING.
I suggest photographing a subject at different times of day and compare them. If you have access to professional lighting equipment, try shooting your subject lit from different angles, diffusion versus hard lighting, etc. There are jobs just dedicated to lighting on high-end shoots, so there are no limits there if you have the budget. Really think about how the light conveys your message to the viewer.
studio lighting setup
photo by Matt Biddulph
9. GO WITH YOUR INSTINCTS.
Make sure what you are shooting is fulfilling something for you. There is no point in shooting something you aren’t enjoying. It will show in your work! The more you are passionate about it, the more creatively you can capture it! I’ve worked with so many photographers that have talent, but take on shoots they don’t enjoy and it showed in the quality of the images. For example, I could never understand why somebody would hire a nature photographer to shoot their portraits. Somebody that isn’t a people person doesn’t take flattering photos of people no matter how much technical knowledge they have. On the other hand, if you see all people as beautiful and you have a natural talent for making a person feel good about him/herself, then portrait photography is a great niche!
communicate with your subject
photo by Oscar Rethwill
10. COMMUNICATE WITH YOUR SUBJECT.
If you’re shooting any type of portrait, make sure it is prepared beforehand. There’s nothing worse than having your model show up with chipped blue nail polish! Learn to guide your subject with clear direction in a way that makes them feel comfortable! Even models feel vulnerable with a lens in their face, so learn to give suggestions in a flattering way. Nobody feels confident after hearing “suck in your gut,” but if that’s what you want, try something like “intensify your rib cage.” Compliments go a long way! When you ask for a smile, it will look forced. If you compliment the person they will naturally smile.
1. PICK A SUBJECT THAT SPEAKS TO YOU.
Pay attention to the reccurring themes in your work. Think of what draws you to these things so you can find new ways to capture and express what you like!
2. PRACTICE!
Don’t be afraid to make mistakes! Sometimes those mistakes turn out to be something unique and innovative that you can build on.
3. WORK THE SUBJECT.
Try shooting the same thing in as many ways you can that capture different aspects about it.
shoot the same subject in many different ways
photo by Yu Morita
After your shoot, look through your shots and critique your work. Be mindful of what worked and what didn’t and why. Editing your shoot is an important part of the learning process.
4. STUDY THE WORK OF OTHER PHOTOGRAPHERS.
Find something that inspires you and pay attention to what you like and try to mimic it. Then try to make it your own by bringing in something new and different.
study the work of other photographers
photo by Street Photography Addict
5. COMPOSITION.
If you pay attention, you’ll see that most great photographs contain at least one of these guidelines:
Rule of Thirds. Imagine the image is divided into thirds both horizontally and vertically. The interesting aspects of the image are placed on those lines. This rule is often used in landscapes, with the horizon being placed in the top, or bottom third of the composition. Some cameras even have a grid option that will display through your viewfinder, to help you make your composition precise.
Balancing Elements. If you’re framing your main subject off center, try having a less important object in the background of the image to balance the weight of the dominant object. The secondary object will add depth to the subject and make it more interesting by filling the void of space in the image.
Leading Lines Use the subject’s lines or contours to your advantage. These lines lead the viewer’s eyes across the image, so become aware of them and how to use them to your advantage. The more they lead the eye around, the longer the viewer looks at your image. Examples of leading lines could be a winding road on a hilly landscape or the contours of your model’s body. Notice how models pose in ways that create leading lines by using their limbs in interesting ways.
leading lines
photo by Nicolas Raymond
Symmetry and Patterns. These are often used in architecture and nature, even in artistic portraits. The subject is center balanced, unlike in the rule of thirds.
Viewpoint. The angle from which the photographer shoots in relation to the subject. Showing us a subject from an angle that we don’t usually see it is a great way to make it more interesting. In working the subject, pay attention to the message the shot conveys. Try eye-level, from above, below, side, behind, from a distance, in close, etc.
Background. Pay attention to your background! If your background doesn’t add to the subject, use a plain backdrop or use a shallow depth of field to blur the background out. Think about how it affects the tone of the subject.
Depth. Mostly in landscapes, depth helps convey a three-dimensional subject in a photograph, which is two-dimensional.
Framing. Objects in your environment can be used to add to your shot! Some useful examples are archways from a building, branches from a tree, or holes in cliffs. These frames can help show off the setting.
framing composition
photo by Arches National Park
Cropping. Cropping in tight on a subject is a great way to remove distracting elements around it. Everything in the photograph should hold value to your image. If it doesn’t, try cropping it out.
The more you practice these composition guides, the more they will become instinctual. Even in your editing & selection process, pay attention to which images pop out at you, and see if they hold one of these elements.
6. FAMILIARIZE YOURSELF WITH YOUR TOOLS.
Photography is so versatile! You can even take amazing photos with a coffee can, but you must understand the limitations of your gear.
7. LEARN TO USE PHOTOGRAPHY SOFTWARE.
Digital software is today’s darkroom, and developing an image is just as important as how you shoot it. My favorite way to digitally polish my images is through Lightroom. It’s amazing what it allows you to do to an image without exposing yourself to chemicals or wasting photo paper and developer. The preset filters are a great way to intensify the tone of the image, but you must know how to fine-tune them to make the image just so. Photoshop is also an important tool.
8. LEARN LIGHTING.
I suggest photographing a subject at different times of day and compare them. If you have access to professional lighting equipment, try shooting your subject lit from different angles, diffusion versus hard lighting, etc. There are jobs just dedicated to lighting on high-end shoots, so there are no limits there if you have the budget. Really think about how the light conveys your message to the viewer.
studio lighting setup
photo by Matt Biddulph
9. GO WITH YOUR INSTINCTS.
Make sure what you are shooting is fulfilling something for you. There is no point in shooting something you aren’t enjoying. It will show in your work! The more you are passionate about it, the more creatively you can capture it! I’ve worked with so many photographers that have talent, but take on shoots they don’t enjoy and it showed in the quality of the images. For example, I could never understand why somebody would hire a nature photographer to shoot their portraits. Somebody that isn’t a people person doesn’t take flattering photos of people no matter how much technical knowledge they have. On the other hand, if you see all people as beautiful and you have a natural talent for making a person feel good about him/herself, then portrait photography is a great niche!
communicate with your subject
photo by Oscar Rethwill
10. COMMUNICATE WITH YOUR SUBJECT.
If you’re shooting any type of portrait, make sure it is prepared beforehand. There’s nothing worse than having your model show up with chipped blue nail polish! Learn to guide your subject with clear direction in a way that makes them feel comfortable! Even models feel vulnerable with a lens in their face, so learn to give suggestions in a flattering way. Nobody feels confident after hearing “suck in your gut,” but if that’s what you want, try something like “intensify your rib cage.” Compliments go a long way! When you ask for a smile, it will look forced. If you compliment the person they will naturally smile.
Saturday, December 1, 2018
Snow Photography: 4 Quick Tips
Winter is on its way with snow already falling across the country. There is nothing more serene than a fresh snowfall, but capturing a winter landscape full of white can be challenging to get right. Here are a few tips to help you ace those snowy shots.

1. EXPOSE TO THE RIGHT… A LOT
Snow means a lot of white, and white can trick the auto balance in your camera and lead to underexposed images. The metering system of your DSLR will try to expose white snow to middle gray. You want to overexpose your image to make sure white snow is, indeed, white. Be sure to constantly check and adjust your exposure.
2. KEEP YOUR PALETTE MINIMAL
Winter scenes are often meant to be calming and do not need too many colors or over editing. Stick with “winter colors” like whites, blues, and greens to keep your images simple. If you’re trying to evoke Christmas, then feel free to break out the red!

3. SHOOT ANY TIME OF DAY
In the winter there is no need to limit yourself to shooting at sunset because the sun will stay much lower in the north and south and the days are often overcast. This makes a large majority of the day a viable option for photography.
4. CHECK YOUR METERING MODE
Metering is how your camera determines the correct shutter speed and aperture based on the amount of light that goes into the camera. Most DSLRs are automatically set in matrix metering or evaluative metering mode, which divides the camera into zones to determine the correct exposure. In the snow, you don’t want to leave your camera in this mode because it will average the image and expose for grey. Instead, try spot metering the brightest part of the snow.
Saturday, July 7, 2018
Wednesday, February 7, 2018

Thursday, January 18, 2018
Monday, January 15, 2018
Civil Rights Photographer Ernest Withers
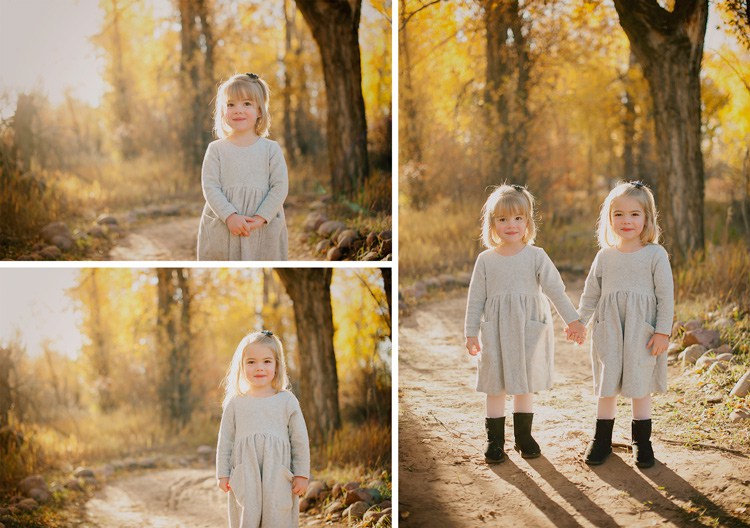
I met civil rights photographer Ernest Withers in 2005. Withers traveled with Martin Luther King and documented the civil rights movement during the early 60's and was influential in bringing the civil rights movement from the deep South to the national stage. Portrait shot on location with a Nikon D700/50mm lens and available light.
Wikipedia - Dr. Ernest C. Withers (August 7, 1922 – October 15, 2007) was an American photojournalist. He is best known for capturing over 60 years of African American history in the segregated South, with iconic images of the Montgomery Bus Boycott, Emmett Till, Sanitation Worker's Strike, Negro league baseball, and musicians including those related to Memphis blues and Memphis soul.

Wikipedia - Dr. Ernest C. Withers (August 7, 1922 – October 15, 2007) was an American photojournalist. He is best known for capturing over 60 years of African American history in the segregated South, with iconic images of the Montgomery Bus Boycott, Emmett Till, Sanitation Worker's Strike, Negro league baseball, and musicians including those related to Memphis blues and Memphis soul.

Thursday, October 5, 2017
Saturday, September 30, 2017
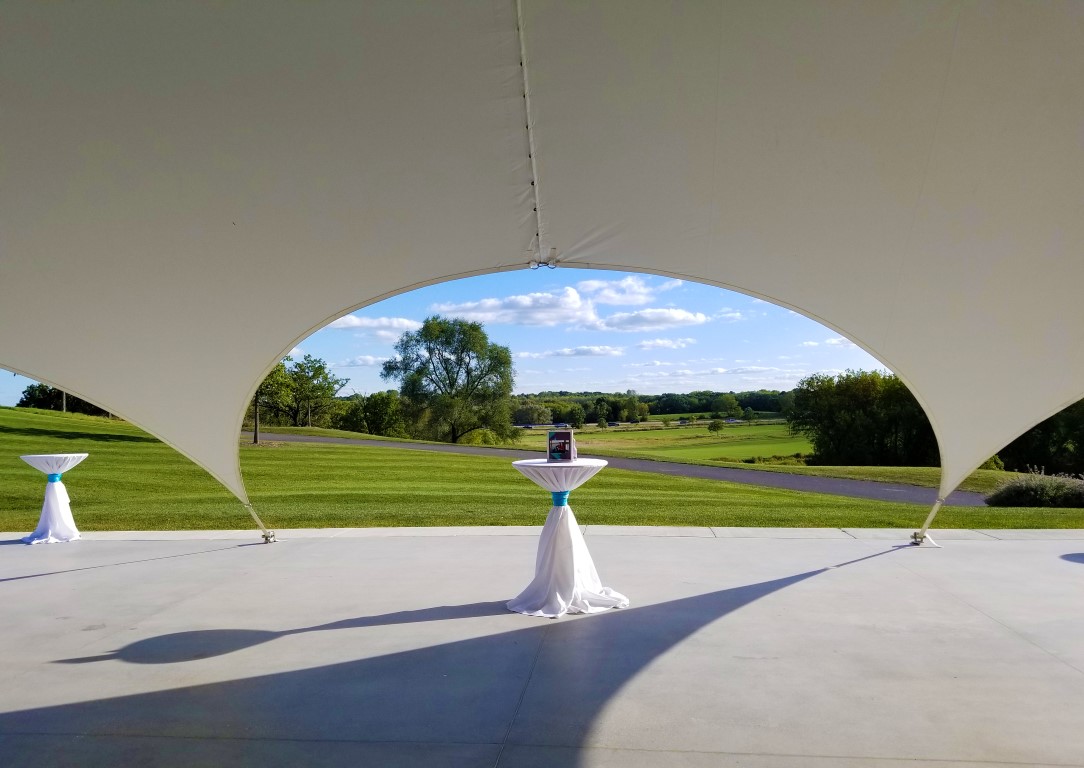
View from the wedding tent yesterday. I started shooting weddings and portraits 40 years ago to temporarily support myself as an art photographer and musician. Well, I'm still at it, and what a run it's been - over 1200 weddings under my belt (maybe that's why my waistband has expanded). I'll probably retire in a year or two, but in the meantime it sure has been fun!
Tuesday, September 19, 2017
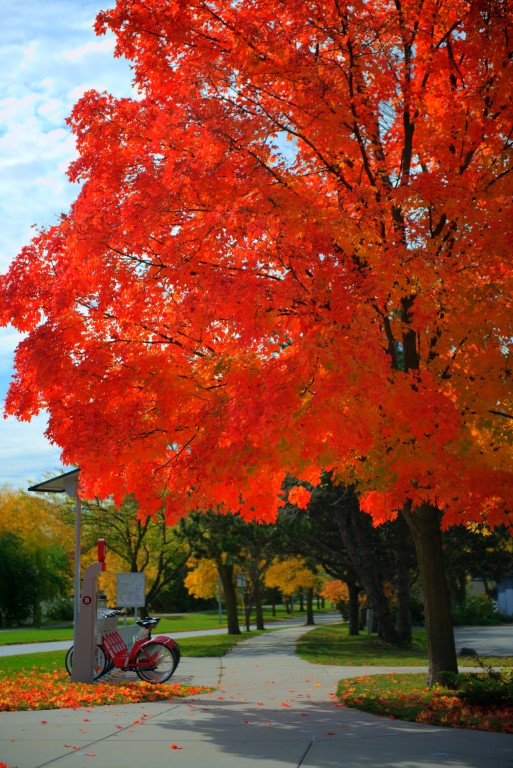
This beautiful Maple tree is located across the street from Talbot Studio and Gallery, 2118 Atwood Ave. Every year folks travel from all around town to view it's beautiful Fall colors. The tree was planted years ago by Bob Hanson, the owner of Mr Roberts Bar and Grill, in memory of his father. photo by Terry Talbot/Talbot Studio and Gallery ...
Thursday, February 23, 2017
Wednesday, May 20, 2015
Monday, September 16, 2013

Wednesday, August 14, 2013
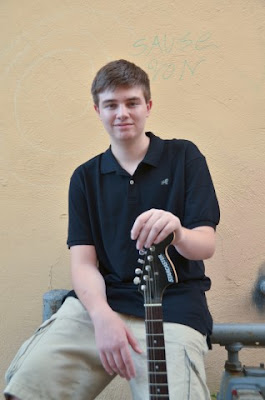
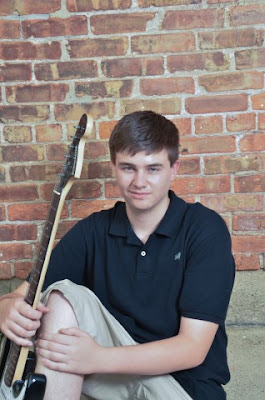
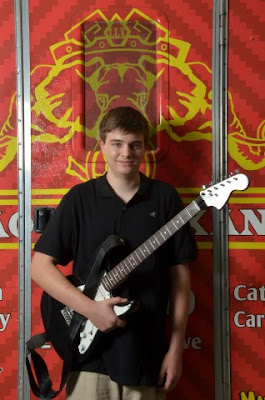
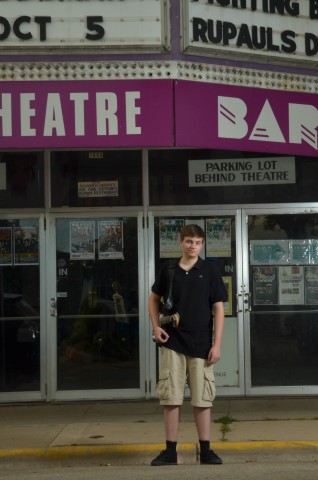
Sam's Senior Photo Session ...
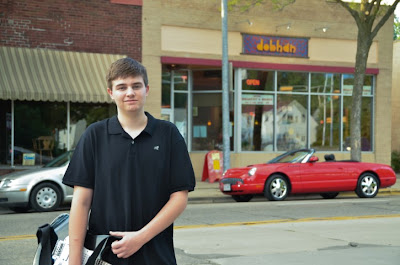
Terry stopped in at the shop last week and asked if there was still time to do a senior photo session for his son Sam. Sure, only takes a few days from start to finished photos.
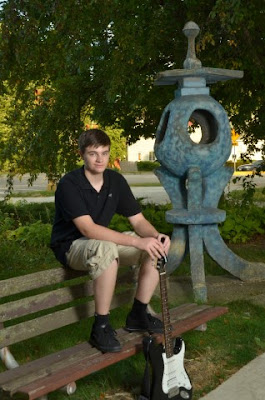
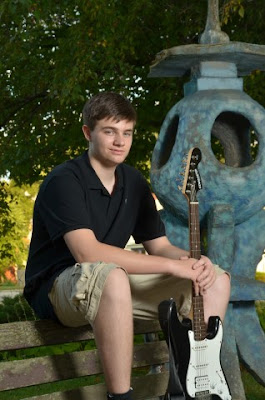
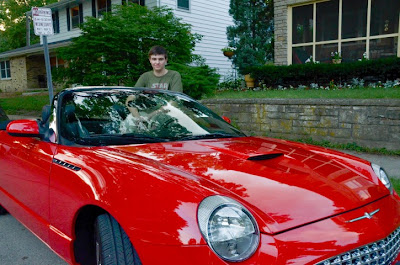
Sam brought a couple interesting props with him - his guitar and his 2002 Ford Thunderbird. Nice car!
.jpg)
We started in the shop with a traditional head shot, Then we moved around the neighborhood to get some urban backgrounds ...
.jpg)
.jpg)
.jpg)
.jpg)
.jpg)
.jpg)
.jpg)
.jpg)
.jpg)
.jpg)
.jpg)
.jpg)
I thought the most fun was getting some shots down by the lake with the Thunderbird ...

Fun day for Sam and I both. Senior photo sessions are a blast ...
Sam brought a couple interesting props with him - his guitar and his 2002 Ford Thunderbird. Nice car!
.jpg)
We started in the shop with a traditional head shot, Then we moved around the neighborhood to get some urban backgrounds ...
.jpg)
.jpg)
.jpg)
.jpg)
.jpg)
.jpg)
.jpg)
.jpg)
.jpg)
.jpg)
.jpg)
.jpg)
Fun day for Sam and I both. Senior photo sessions are a blast ...
Saturday, April 27, 2013
.jpg)
Wednesday, April 3, 2013
Blues Legend Rounds the Corner on Another Year
I first heard Filipowicz years ago at the Azatlan Inn, near Lake Mills Wisconsin. Aztalan is the site of one of the Midwest's oldest sacred Indian mounds, and I later found out is where Paul makes his home.
A native of Chicago, Filipowicz moved to Wisconsin in the mid 70's, bringing his guitar and his searing blues guitar style with him. It was in Chicago, home of many legendary blues players, that Paul heard the music of Muddy Waters and decided to be a blues player.
.jpg)
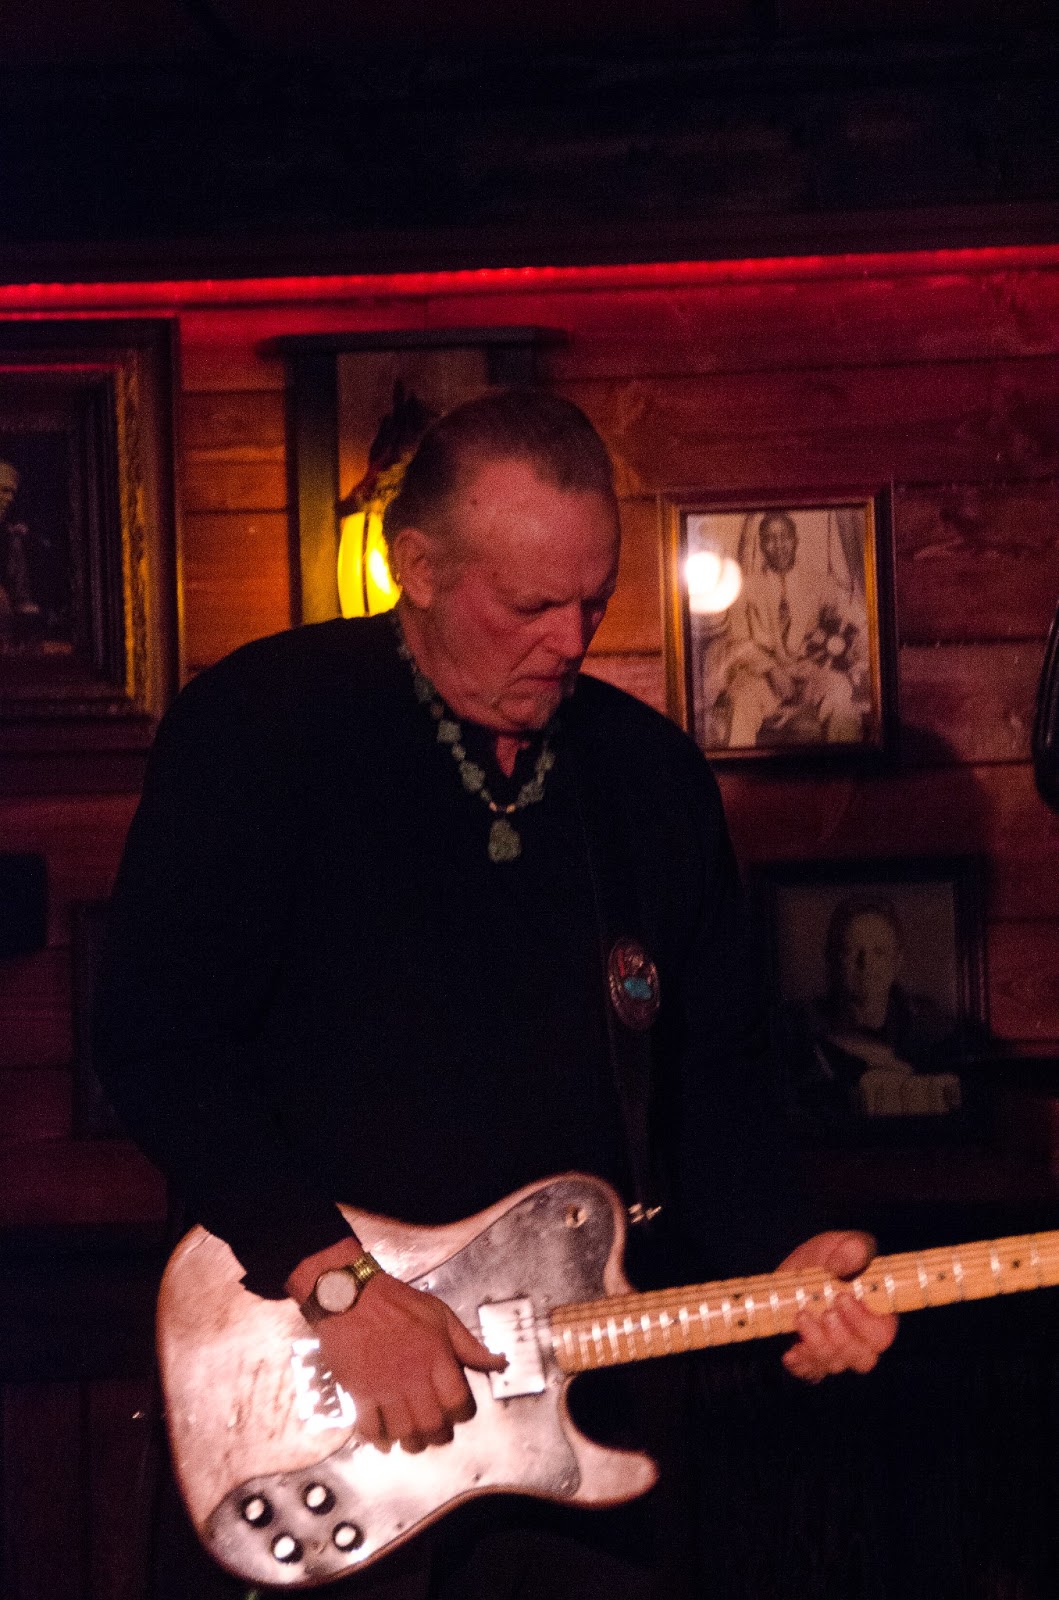
Forty years later I'm at the Knuckle Down Saloon, one of the best places in Madison to hear the blues, to catch Paul playing a gig that's his and club owner Chris Kalmbach's birthday bash. The place was packed and Filipowicz wowed the crowd with his searing brand of blues guitar.
.jpg)
.jpg)
.jpg)

.jpg)
.jpg)


.jpg)
Sunday, March 10, 2013
Rockin' Johnny Burgin at the Knuckle Down Saloon
Johnny Burgin is a Chicago based blues musican. Madison, WI is a short drive from the Windy City, so we're fortunate to be able to catch a lot of great Chicago blues players in our local clubs. Johnny played the Knuckle Down Saloon on Mar 7th, 2013. Bundled up my equipment, a Nikon D800 for the vids and 7000 for the stills, and headed to the club a little early to set up.
I covered a gig of Johnny's at the Locker Room in Madison a couple of years ago. He remembered me and gave me a nice greeting when he saw me setting up. Very nice guy, and a great blues player. Joining him on stage were Madison musicians A.J. Love on 2nd guitar, Joey B. Banks on drums, and Beloit native Eric Sheffield on bass.
Lighting at the Knuckle Down was pretty dim. I set the D800 at 3200 iso and the 24 - 70/f2.8 Nikkor lens at f/3.5. Recording quality was 1080P at 30 frames/sec. Shot the stills with the D7000, 18-200 lens, set at iso 1600 on manual f/5.6 at 30th sec.
After Johnny's first set he invited local blues players to join him on stage for a jam session. One of my favorite local players, Paul Filipowicz, was first to get on stage. Paul is a Texas style blues player, like Stevie Ray Vaughn, and works really hard on stage. He and Rockin' Johnny were a great match.
After Paul, Kyle Henderson sat in on vocals. After that Cadillac Rob took the stage, and was joined by Chicago native Hannah John Taylor on sax. It was a rockin blues night!







Tuesday, March 5, 2013
A Snowy Day at the Capitol

Later on I stopped by the shop to check on things and grabbed another shot of the snow still coming down on Atwood Ave.
.jpg)
Maria was supposed to fly in from Jamaica tonight and I was going to pick her up at Madison International at 10pm. She called a bit ago to let me know her connection out of Chicago was canceled and she'd be grabbing a Van Galder bus instead, arriving at the Union at 10:30. Not bad, the bus always gets through. Welcome back to the land of snow white Maria!
Subscribe to:
Posts (Atom)